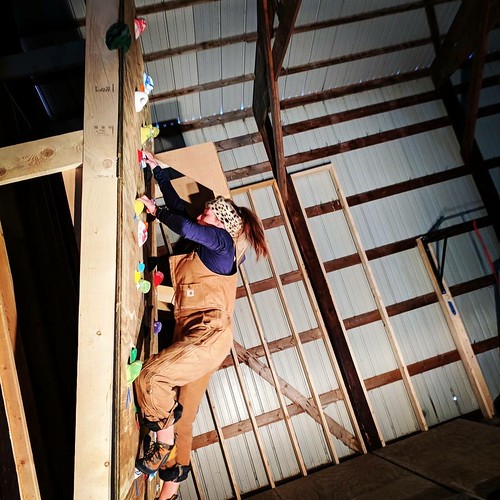
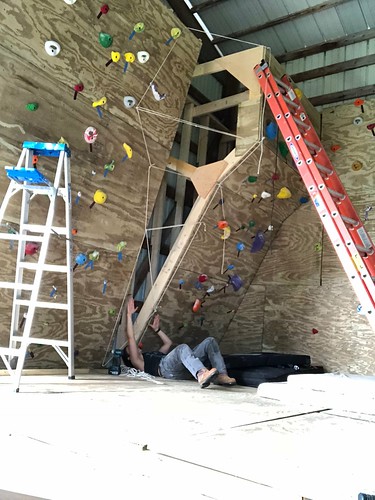
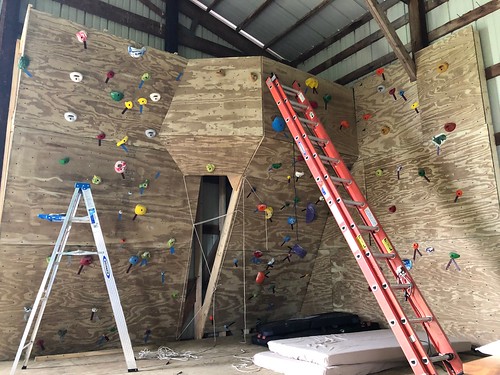
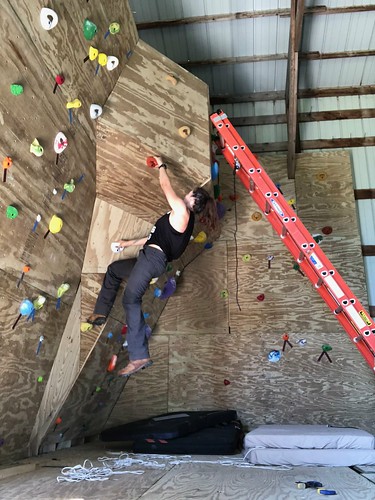
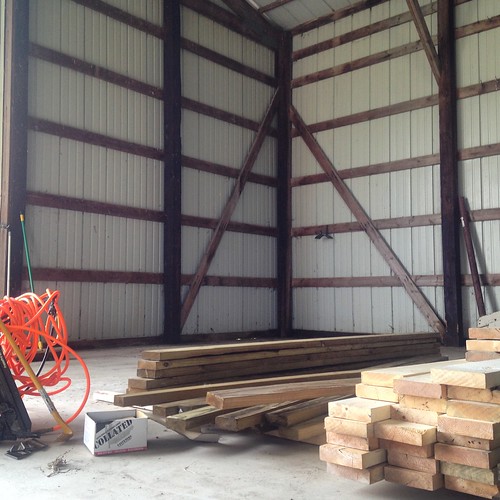
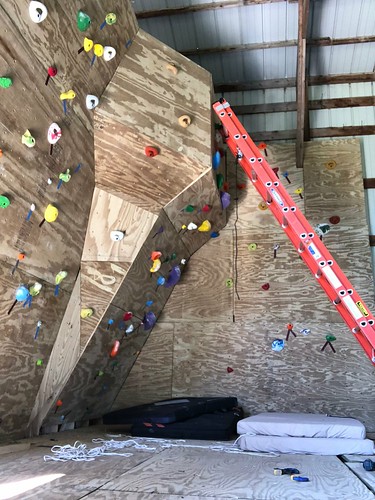
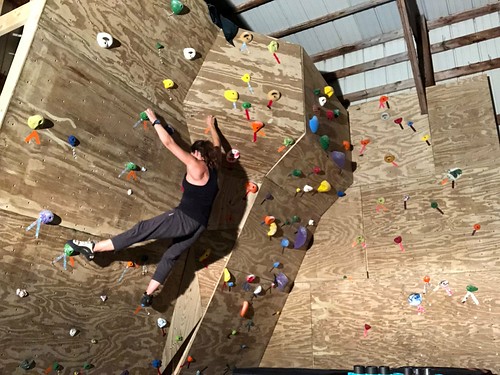
I spent the better part of last year trying to convince myself not to build a climbing wall out in my barn, and then in October, I finally gave into the impulse and started, well, this…
(That is not the appropriate way to climb on a climbing wall, by the way.)
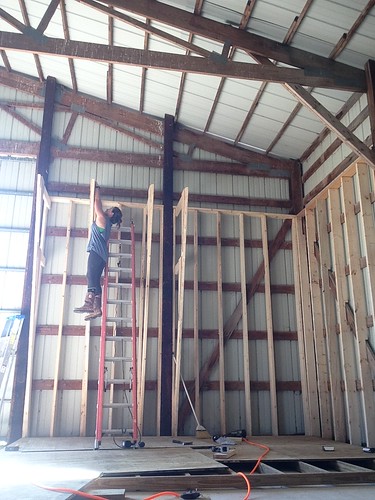
I built the wall in 3ish sections, and you can read more about framing and building the first part of the wall here.
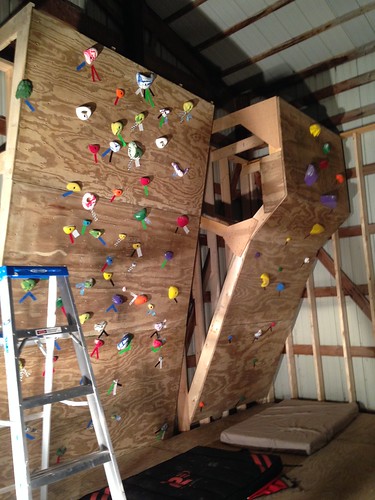
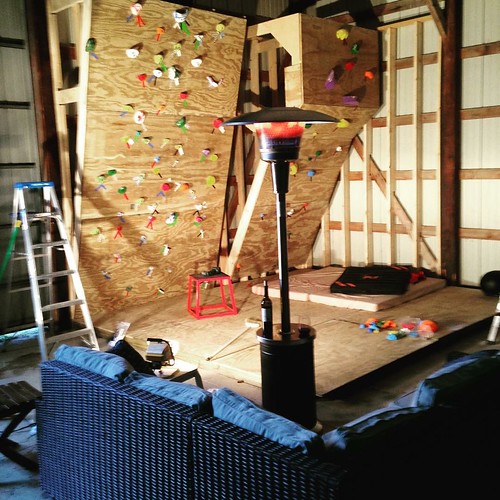
By the time winter came last year, there were two sections of wall to climb on, including a nice little overhung section…
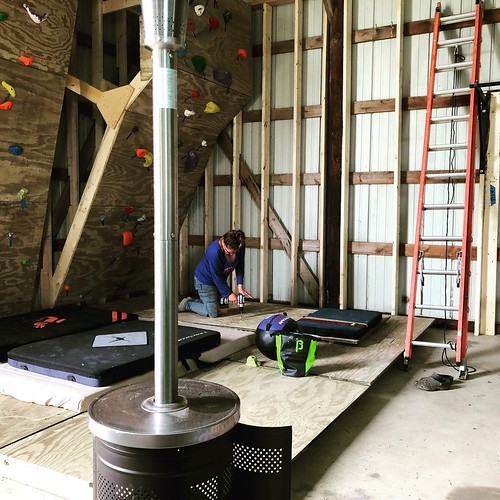
Instead of putting the patio furniture away for the year, I just moved it out to the barn to make a nice little seating section around the wall…
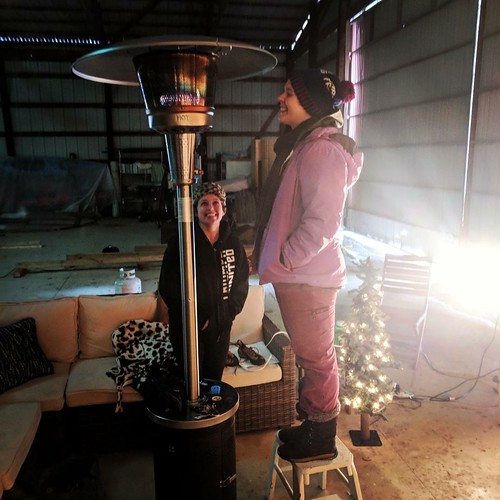
And I snagged one of these patio heaters on sale at Lowe’s, which came in handy when trying to climb in six-degree weather…
I literally climbed in my Carhartt bibs.
(Also, yes, we did have a little Christmas tree out in the barn because why not?)
To be honest, the wall didn’t get a ton of action between January and March, but as soon as the weather swung back in our favor I started planning the next sections of wall.
First, the “easy” section of wall with no overhang. This is my mom, on Mother’s day, helping me drill holes in 3/4″ plywood for t-nuts…
I know, I know, all moms are awesome, but I’m just saying… mine helped me build a climbing wall.
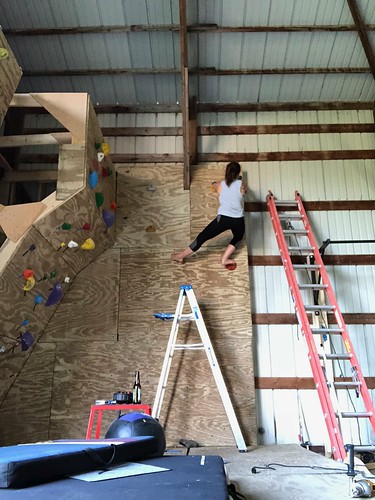
It was far easier to get the plywood up on this section of wall, and the fun thing about building something that you’re supposed to climb on is that no screw is out of reach, even when you run out of rungs on the ladder…
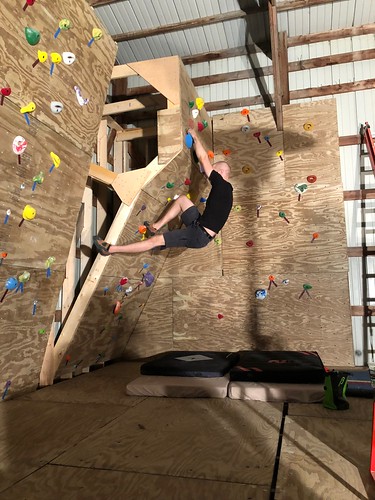
At this point the wall itself was about 90% done, but there was still the big, gaping space between the overhung sections of wall. I mean, we still climbed on it this way…
As evidenced by my friend (and chief route-setter for this wall) Mike…
But I also spent A LOT of time thinking through the logistics of connecting two sections of wall, on different angles, with plywood that also had to be on an angle, and then my brain turned to mush because I didn’t pay enough attention in trigonometry when I was a kid.
You know what I did do a lot as a kid though? Visualize.
I couldn’t do the math on this the way an engineer would, but I did have the somewhat-brilliant idea to use string to visualize all of the angles and pieces. Then I measured the angles of the string with a protractor, and holy shit…
IT WORKED.
You guys, I didn’t even have to do drunk math to make that work… it was 100% sober. Who am I even?
There’s a bunch of blocking behind those pieces of connecting plywood, which I tested in the most OSHA-approved way ever…
By climbing on it in my workboots. Seems solid.
So there you have it.
From this…
To this…
I still have a few more finishing touches, and may eventually want to texture and paint the wall and put in some legit padding underneath it… but for now I’m just enjoying being able to walk out the barn and do some climbing whenever I want.
Was it a frivolous project? Yes. But also a helluva lot of fun, and seriously, what’s the point of being able to build anything you can dream up if you don’t actually dream up and build crazy shit every once in a while? (Which is 100% foreshadowing for the next post I have about things I’ve built in the barn this year.)
Source: Building a Climbing Wall: Parts 2 & 3


